


Maskeringsverktøy & D Anonymisering Tutorial Video
Hvis det automatiske verktøyet ikke passer deg, kan du bruke manuell modus.
Alle verktøy for å uskarpe et online bilde
Hvordan du kan uskarpe et bilde enkelt og gratis på noen få sekunder ? Hvordan anonymisere et bilde, skjule et ansikt, uten å ringe til komplisert programvare for Photoshop -type bildebehandling ?
Hvis du ikke er komfortabel med ideen om at et ansikt eller sensitiv informasjon vises på et bilde, kan du først uskarpe dem. I denne artikkelen vil vi se hvordan du gjør det på nettet veldig enkelt å bruke en stasjonær datamaskin, en mobiltelefon eller et nettbrett.
Her er retusjeringsverktøy på bildene dine, veldig enkle å bruke, som lar deg uskarpe et ansikt på et bilde eller uskarpe en fotobakgrunn på kortere tid enn du trenger å skrive det.
Innhold
De beste online verktøyene for å uskarpe et bilde gratis
En liste oppdatert veldig enkle verktøy for å uskarpe ansikter på et bilde tatt på skolen eller under en skoletur for eksempel. Disse verktøyene kan også brukes til å uskarpe et område på et bilde eller en skjermbilde. Å skli mellom dine online verktøy for å administrere og forbedre bildene dine.
Redd. Ideell å uskarpe en person på et bilde
Sist fra online verktøy som ganske enkelt gjemmer ett eller flere ansikter på et bilde, krever Redated ikke registrering eller installerer noe. Du laster opp bildet ditt på nettstedet, du velger ved å tegne det på skjermen med musen du vil uskarpe og voila. Du kan sverte, uskarpe eller pixeize masken. Da må du bare laste ned det uskarpe bildet med et klikk. Enkel, gratis og uten reklame.
Lenke: Redd
ImageBlurur. En kunstnerisk gaussisk uskarphet for å skjule en del av et bilde eller uskarpe en bakgrunn

Her er et annet online verktøy som gjør det mulig å uskarpe et bilde og lage sensitiv informasjon der. ImageBlurur er det fantastiske verktøyet for å utføre denne oppgaven raskt og enkelt. Å uskarpe et bilde, ImageBlurur tilbyr deg å dra elementet i vinduet som er gitt for dette formålet. Velg deretter området for å uskarpe, og klikk deretter på “Blur It” -knappen for å validere modifikasjonen. Dette vil skape en slags gaussisk vaghet eller en overdrevet pikselage som vil gjøre det valgte området uleselig. Et klikk på “Fortsett” -knappen, og du kan laste ned det endrede bildet.
Lenke: ImageBlurur
FacePixelizer. Automatisk oppdager ansiktet til uskarphet
![]()
Hva er FacePixelizer? FacePixelizer gir et programvareverktøy for å maskere og anonymisere bilder. Du kan uskarpe et ansikt på et bilde med noen få klikk. FacePixelizer fungerer direkte fra nettleseren din, så bildene dine holdes private. Ingen overføring etter nettverk – alt er på stedet. FacePixelizer er basert på samme prinsipp som hans to små kamerater. Forlaget oppdager automatisk et ansikt og tilbyr deg uskarpe det, men du kan reflektere når du ønsker det området du vil skjule. Ideell hvis du ikke har programvare for redigering av bilder. Det elektroniske grensesnittet er ultra lett å håndtere og vil hjelpe deg med å skjule visse data fra bildene dine.Lenke: FacePixelizer
Redactphoto. Lag en pikselert uskarphet på et bilde
Det er et av de enkleste og raskeste verktøyene også. Redact-Photo fungerer med lysets hastighet direkte i nettleseren din. Du kaster bildet du vil uskarpe på siden. Du definerer deretter området du skal uskarpe eller som du vil få maskeringen. Nettstedet viser resultatet umiddelbart med en pikselert cache av beste effekt. Du kan skjule en eller flere deler av bildet. Et klikk og du får det nye bildet ditt.
Lenke: Redact-Photo
Pixlr. Uskarpe et bilde på mobil
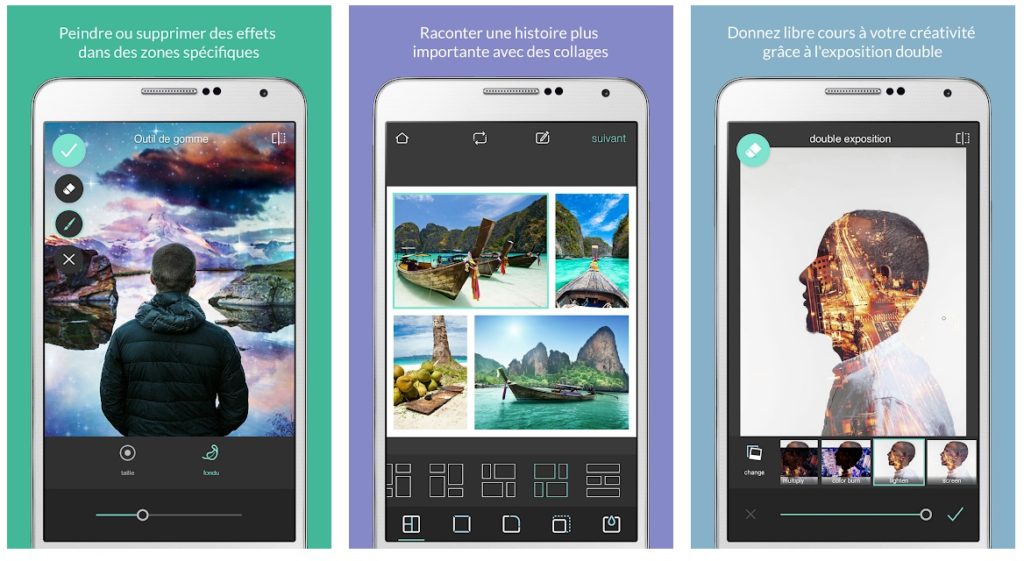
Hvordan uskarpe et bilde på iPhone ? Hvordan uskarpe et Android -bilde ? Pixlr er kanskje den enkleste løsningen. Denne Photoshop -klonen tilbyr dedikerte mobile applikasjoner for iOS og Android. I denne mobilversjonen er det veldig enkelt å pixisere en del av et bilde. Velg “Pixelizing” -funksjonen fra børsten nederst på skjermen. Når verktøyet er valgt, skyv fingeren på den delen du vil uskarpe. Valider deretter lagre bildet. Det er det.
Tilkoblinger: Pixlr på Android – Pixlr på iOS
Så mye for disse fem online verktøyene som ble opprettet spesielt for å uskarpe bilder. Men du kan også ringe til store retusjering eller fotoredigeringsapplikasjoner. Canva, maling og photoshop -programvare tillater et bilde av et bilde med noen få klikk. Her er trinnene å følge.
- For canva. Bare velg bildet, klikk på filter og deretter på avanserte alternativer. Skyv markøren til høyre til uskarphet, og til venstre for å fremheve fokuset.
- For Photoshop, I MP Det ønskede bildet fra “Fil” og “Åpne”. I verktøyene som tilbys på venstre side, bruk den stiplede lassoen, den andre starten fra toppen.
- På maling Til slutt, når bildefilen din har vært åpen, velger du den delen av bildet du vil uskarpe og deretter ringe på “Endre størrelse” -verktøyet og erstatte figur 100 i de horisontale og vertikale boksene som vises med en mindre verdi, som 10 for eksempel.
Og du ? Kjenner du eller bruker andre enkle verktøy eller tjenester for å uskarpe et bilde eller et bilde ? Takk for at du delte dem med oss via kommentarene.
For å ha motsatt effekt og forbedre kvaliteten på digitale bilder, kan du konsultere denne andre listen over fotoverktøy.
Maskering og anonymiseringsverktøyets opplæringsvideo
Uskarpe, piksel eller sensurere private områder av bilder og dokumenter enkelt!
Hva er FacePixelizer?
FacePixelizer er en bildeditor som spesialiserer seg på maskering og anonymisering av bilder. Bruk facepixelizer for raskt å skjule informasjon om et bilde som du ikke vil offentliggjøre. For eksempel kan du uskarpe en tekst eller til og med pixize et ansikt på et av bildene dine.
Fordi FacePixelizer kjører i nettleseren, forblir bildene dine private og aldri forlater nettleseren din. Ingenting blir sendt til nettverket, alt skjer i nettleseren din.
Hvem er dette verktøyet for?
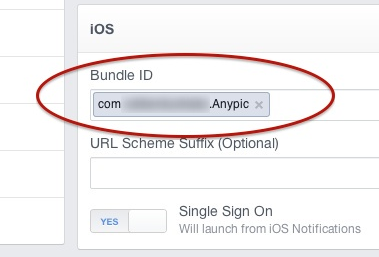
- Opplæringsforfattere som vil skjule e -posten sin eller andre adresser på et skjermbilde.
- Bloggere som ønsker å bruke personlige bilder på bloggene sine.
- Fotografer som ønsker å uskarpe en person til å respektere sitt bilde riktig.
- Journalister som ønsker å beskytte identiteten til mennesker på et bilde.
- Facebook -brukere vil ikke bli avskjediget for å legge ut bilder.
- Foreldre som ønsker å skjule barnas ansikt på bildene sine.
- Folk som ønsker å uskarpe private elementer på et støttedokument, for eksempel en kontoutskrift eller en faktura.
- Folk som ønsker å skjule lisensplatene sine når de setter et kjøretøy for salg på et rubrikkannonse -nettsted.
Hvordan bruke det? 
Lett som kake!
- Skyv et bilde (.Jpg eller .PNG) på FacePixelizer -websiden.
- Utfør et utvalg på et hvilket som helst område av bildet du vil uskarpe eller pixeize.
- Lagre bildet ditt.
Hastighet og produktivitet
Facepixelizer er optimalisert for maksimal produktivitet for å uskarpe bildene dine Med så få klikk som mulig.
Facepixelizer krever bare et klikk ved å uskarpe. Sammenlign dette med de 5 eller flere nødvendige klikkene i Photoshop for å utføre den samme manipulasjonen! I motsetning til andre utgivere, trenger du ikke å gjøre et utvalg før du bruker en effekt, det gjelder direkte. Effektiviteten av Facepixelier ligger også i det faktum at det ikke er nødvendig å justere justeringer før du bruker en effekt. Med sin autumtiske modus, facepixelizing faktum intelligent for deg.
Automatiske ansikter påvisning 
Facepixelizer har automatiske ansikter.
Deteksjonsmodulen kjører i nettleseren din og fungerer ganske bra, men den kan ikke oppdage visse ansikter. For eksempel et profil ansikt eller orientert opp eller ned. På den annen side er det veldig enkelt å identifisere og retusjere disse ansiktene manuelt med anonymiseringsverktøyet.
Du har valget om å pixisere eller uskarpe ansiktene.
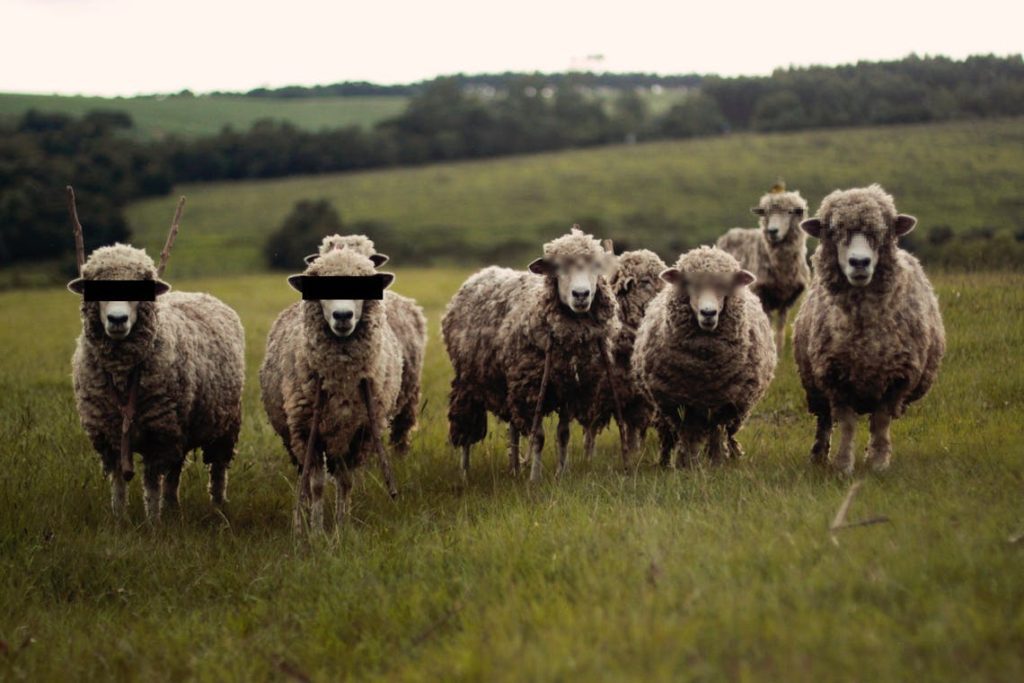
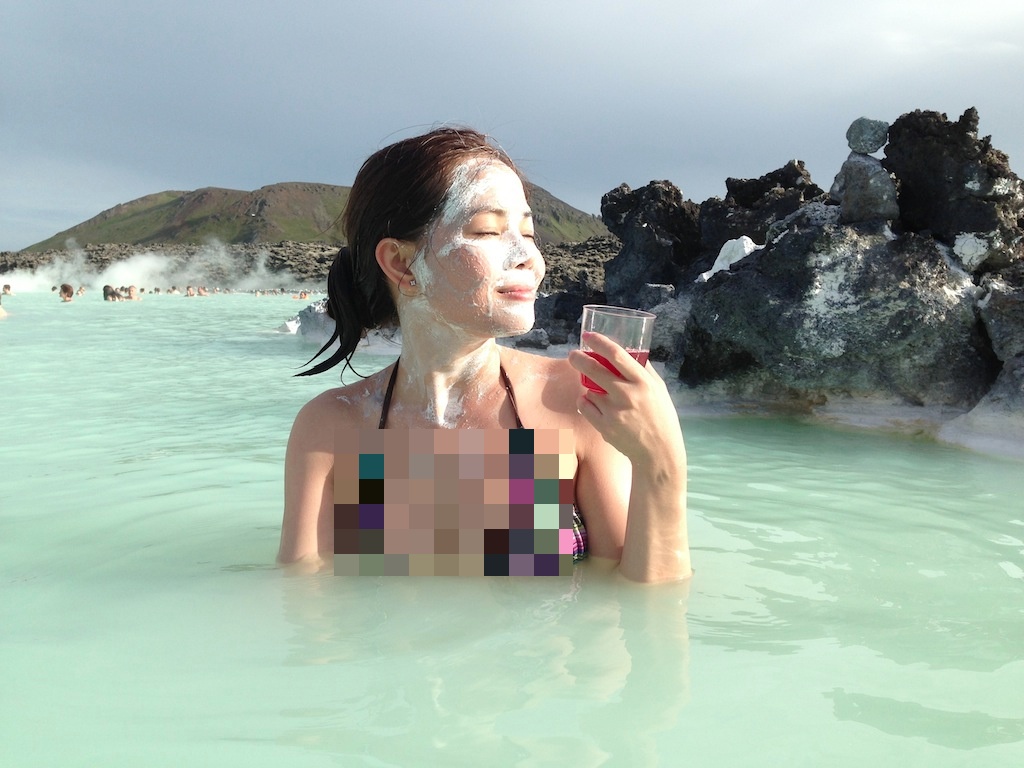
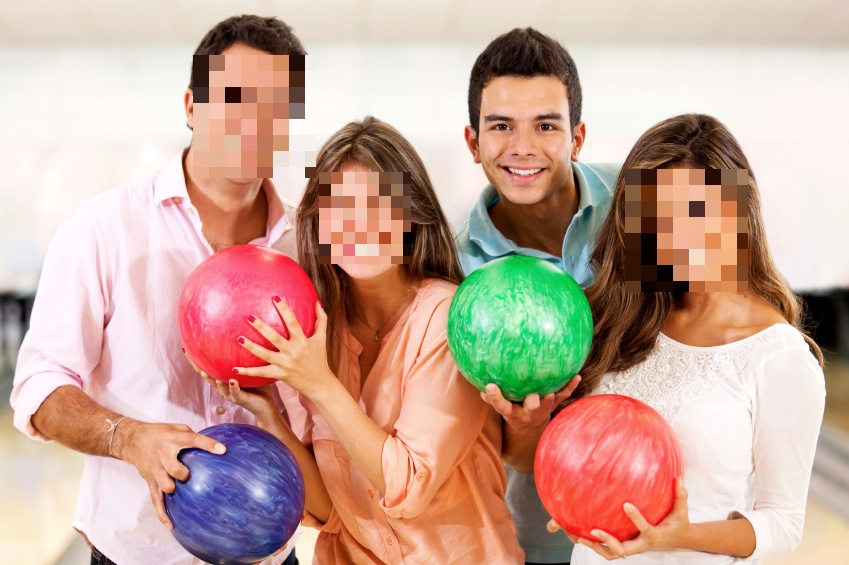
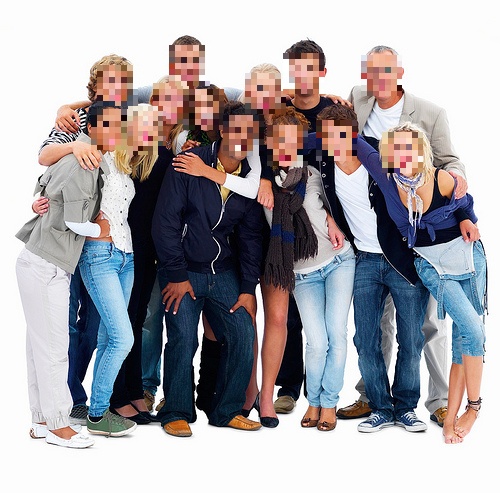
Automatisk deteksjon kan være veldig nyttig når det er mange ansikter på et bilde, som i følgende eksempel.
Maskeringsverktøy 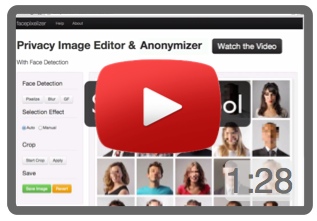
Maskeringsverktøyet har to modus: automatisk og manuell.

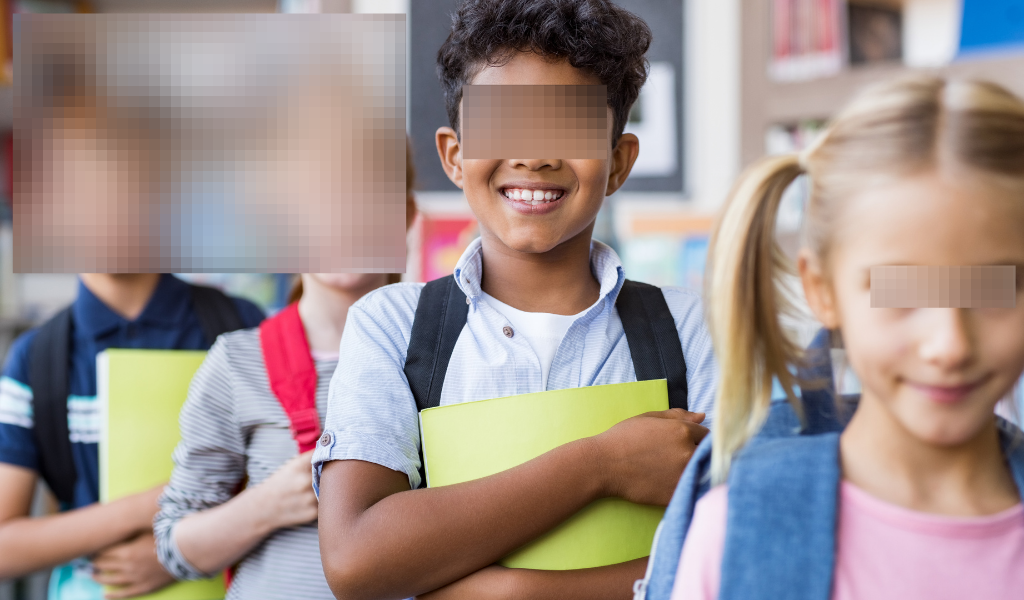
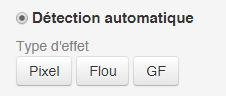
Automatisk modus – Automatisk oppdagelse av ansikter og tekster 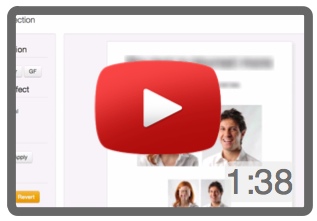
Automatisk modus er intelligent og kan oppdage forskjellen mellom en tekst og et ansikt. Ansiktene er pikselert og tekstene er uskarpe. Intensiteten til uskarpheten eller pikseliseringen avhenger av størrelsen på det valgte området. Hvis området er bredt, vil effekten bli satt opp automatisk. Effekten justeres med andre ord i henhold til det valgte området.
For tekstene er den uskarpe effekten proporsjonal med størrelsen på skriften, slik at store skrifter er mer uskarpe enn små skrifter. Følgelig forblir intensiteten til uskarpheten konsistent uavhengig av størrelsen på skriftene for å skrive på det samme bildet, og unngår dermed at du må justere innstillingene for hver størrelser på å skrive.
Det samme gjelder pixelatering av ansikter – intensiteten til effekten er proporsjonal med det valgte området. Et høyt ansikt vil være mer pikselert enn et lite ansikt.

Manuell modus – Manuell valg av maskeringsområder 
Hvis det automatiske verktøyet ikke passer deg, kan du bruke manuell modus.
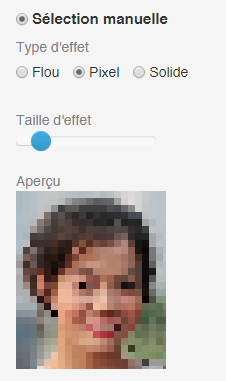
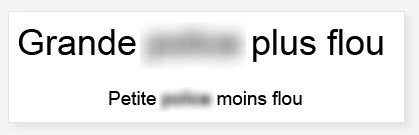
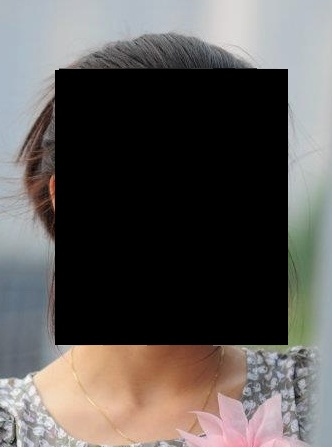
Med manuell modus kan du velge mellom Pixeeling -effekt, uskarphet eller solid (svart rektangel). Bruk innstillingene for å endre intensiteten til effekten. Følgende bilder viser deg en oversikt over de forskjellige effektene.
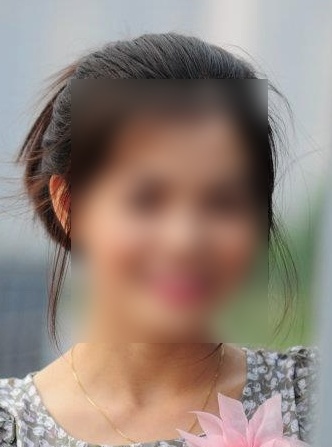
![]()
Slett en effekt 
For å slette en effekt, velger du bare det aktuelle området fra bunn til høyre og går opp til venstre, det vil si motsatt retning av anvendelsen av effektene. Denne funksjonen er veldig nyttig og enkel å bruke når vanen er tatt. For et visuelt eksempel, se videoopplæringen.

Effekt sletting kan brukes til interessante kreative formål, som for eksempel for å avsløre et bestemt område. På bildet nedenfor ble hele bildet pikselert, deretter ble sletting av effekten brukt på øyesonen.

Lagre 
Så snart du er fornøyd med bildet ditt, klikker du på “Lagre”, og bildet ditt blir lagret med den “sensurerte” utvidelsen som er lagt til navnet på filen. For eksempel, hvis filen din heter Skjermbilde.jpg, Når den er lagret, vil en bli kalt Fangetcran_censored.jpg.
![]()
Trykk på artikler på FacePixelizer


Spørsmål og svar
Facepixelizer er det gratis?
Ja, FacePixelizer er et helt gratis verktøy for bruk. Hvis du publiserer et bilde redigert av FacePixelizer på nettet, ville vi ha takknemlig for å legge til en lenke til denne siden (http: // www.FacePixelizer.com/fr/) og passere ordet!
FacePixelizer har en iPhone- eller Android -applikasjon?
Legg navnet ditt til vårt nyhetsbrev, så vil vi informere deg om det vil være klart!
Hva er EXIF -dataene?
JPG -bilder kan inneholde EXIF -data som er informasjon om datoen og stedet der bildet er tatt, og annen informasjon som kameraet som brukes, målet, eksponeringstiden, eksponeringstiden, eksponeringstiden, eksponeringstiden, etc..
PNG -bilder har ikke EXIF -data.
EXIF -data blir slettet av facepixelizer?
Ja, når du lagrer et bilde med FacePixelizer, blir alle EXIF -data slettet.
Informasjon knyttet til datoen eller stedet for skytingen blir slettet.
Copyright 2013-2015 Rubber Duck Labs Inc.